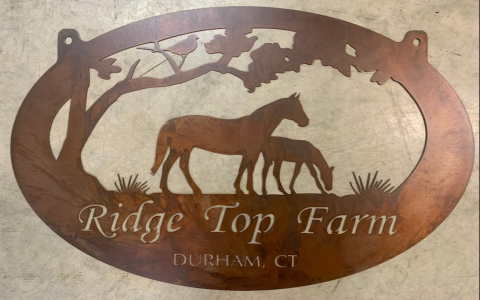
Okay, folks, let’s dive into my little project from the past week: making personalized metal horse signs. I’ve always loved the rustic look of metal art, and I wanted something unique for my friend’s stable.
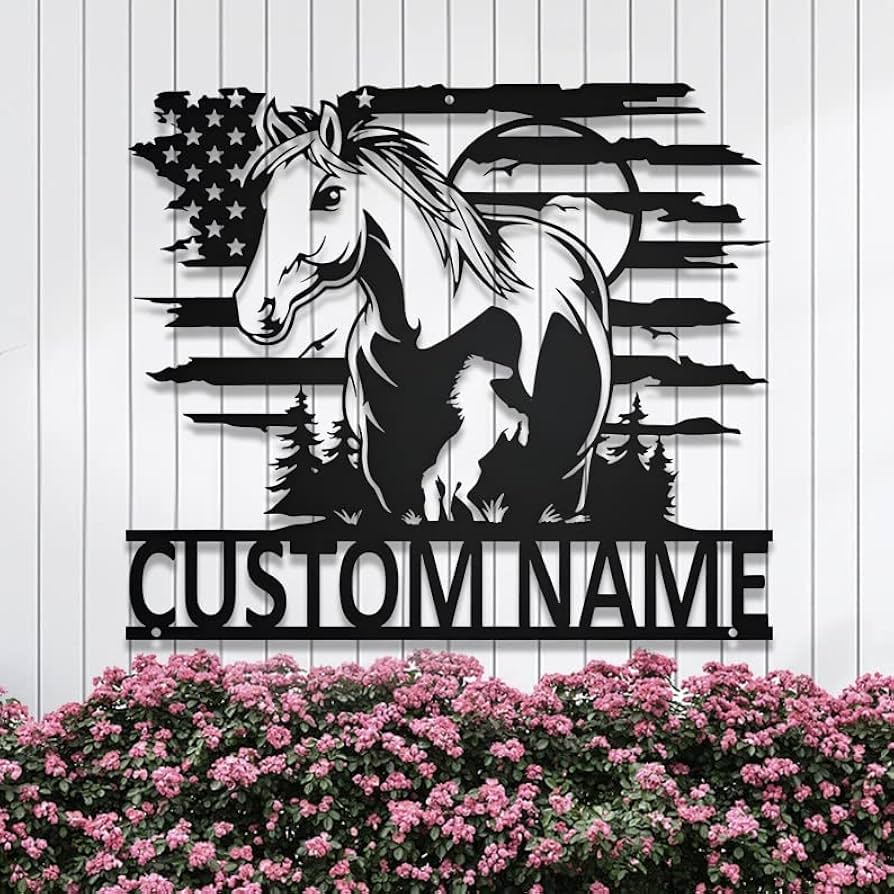
First, I brainstormed some designs. I knew I wanted a horse silhouette, but I played around with different poses – rearing, grazing, trotting. I even messed with adding horseshoes or a barn outline in the background. Finally set on one design to use.
Next up was gathering materials. I needed:
- Sheet metal (I used 16-gauge steel, which is sturdy but not too thick to work with)
- A design printout (sized to fit my metal sheet)
- Metal shears (or a jigsaw with a metal-cutting blade. Let me tell you, those shears got a workout!)
- A marker (for tracing)
- A hammer and a center punch (to mark my drill holes)
- A drill with metal drill bits
- Safety glasses (super important – don’t skip this!)
- Gloves (metal edges are sharp, trust me)
- Sandpaper or a metal file (for smoothing those edges)
- Paint (if you want to add color. I went with a rusty, weathered look)
- A sealant (to protect the metal, especially if it’s going outdoors)
The Making Process
I transferred my chosen design onto the metal sheet. I taped the printout to the metal and traced it with a permanent marker. Took a little patience, making sure I didn’t slip.
Then came the cutting. Boy, this was a bit of a workout! I started with metal shears, making slow, deliberate cuts. If you go too fast, you can bend the metal. For some of the tighter curves, I switched to a jigsaw (with that metal-cutting blade, of course). Slow and steady wins the race here.
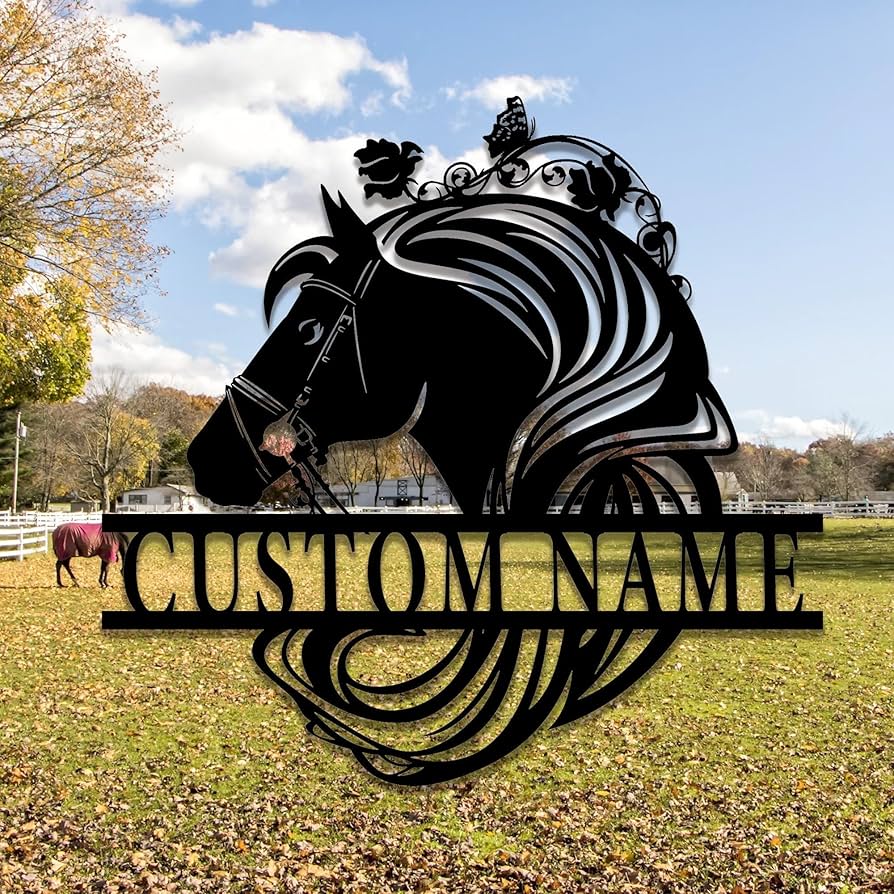
Once the basic shape was cut out, I used my hammer and center punch to mark where I wanted to drill holes for hanging. I put one hole in each of the horse’s hooves so it’s more balanced and looks good.
Drilling was next. Again, slow and steady. I used a small drill bit to make pilot holes, then gradually increased the size until I had holes big enough for my hanging hardware. This prevents the metal from warping or the drill bit from slipping.

After the drilling, it was time to smooth the edges. Metal edges are SHARP. I used a combination of sandpaper and a metal file to make sure everything was smooth and safe to handle. No one wants a metal horse sign that bites back!
Then finished all up. I didn’t do it, but I know some people love to paint. I wanted a rustic look, so I skipped the bright colors. Instead, I used a special paint that creates a faux rust finish. It’s a two-step process – a base coat and then an activator that makes it look like it’s been weathering for years. Pretty cool effect!
Finally, I applied a sealant. Since my sign was going outdoors, I used a clear coat designed for metal. This helps protect it from the elements and prevents real rust from forming. I did a couple of coats, letting it dry completely between each one.
And that’s it! It was a fun project, and I’m pretty happy with how it turned out. My friend loved it, which is the best part. It’s definitely a step up from those generic signs you find in stores. Now, whenever I visit, I’ll see my little creation hanging proudly.


